Comprehensive Ingredients List
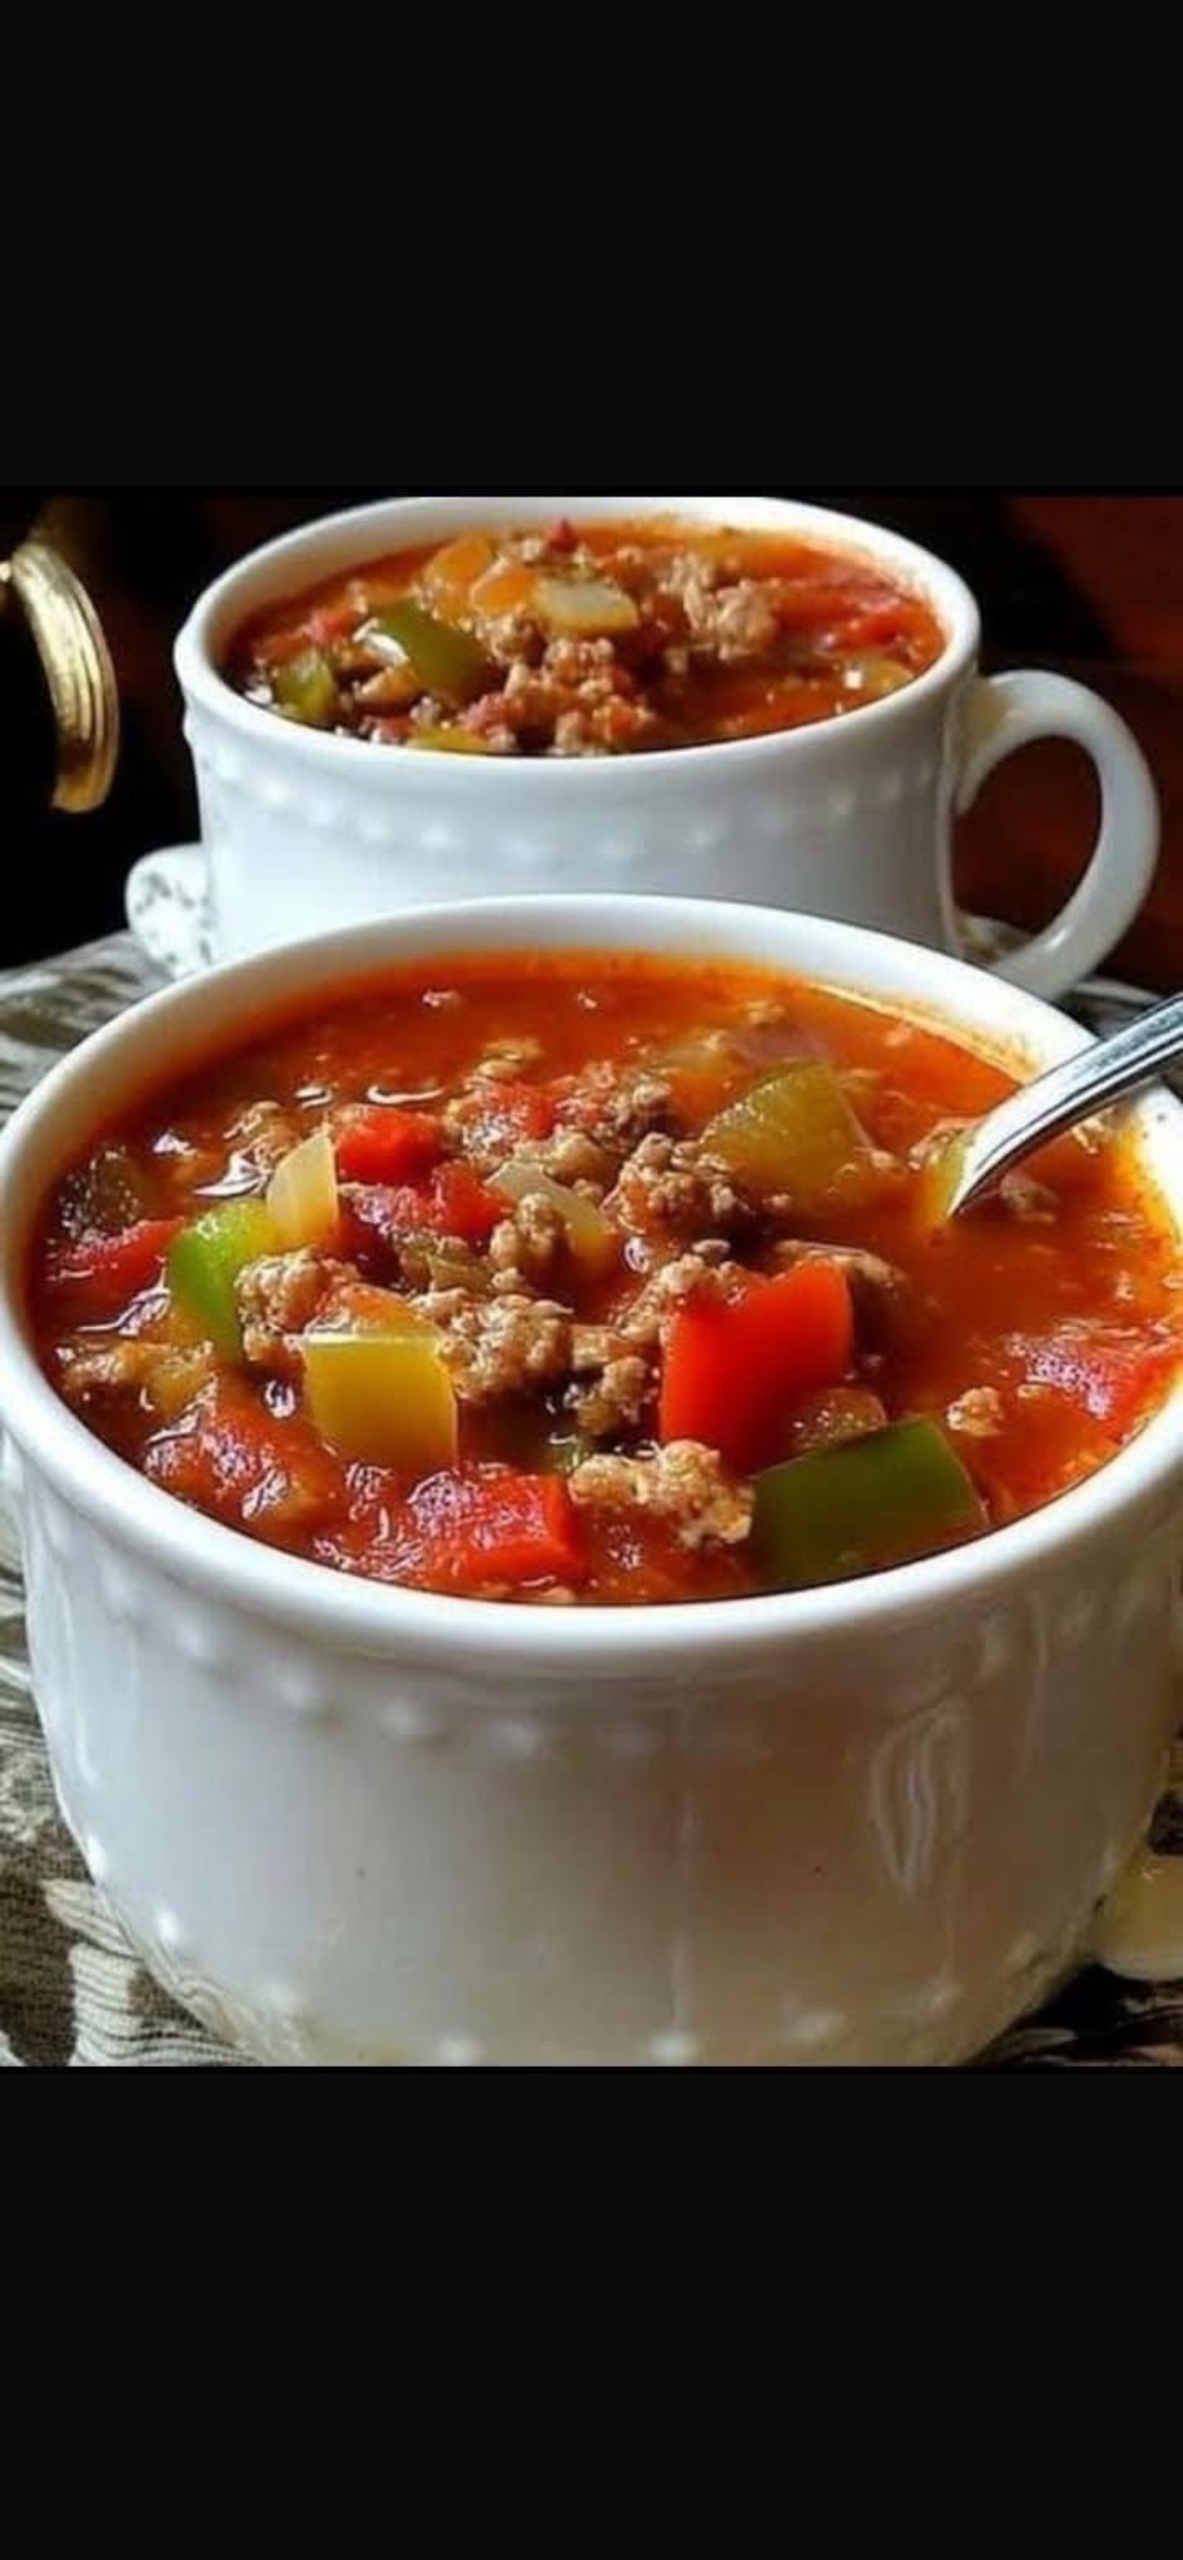
To get that beautiful, chunky texture seen in image.png, you will need to round out your base ingredients:
The Proteins & Aromatics
- 1 lb Lean Ground Turkey (Opt for 99% fat-free to keep it strictly zero points)
- 1 large Yellow or White Onion (diced)
- 3–4 cloves Garlic (minced)
The Veggies (The “Stuffed Pepper” Essence)
- 2 large Bell Peppers (A mix of red and green, chopped into bite-sized chunks to match image.png)
- 2 stalks Celery (finely diced, optional for extra depth)
The Liquid Base & Tomatoes
- 1 can (14.5 oz) Diced Tomatoes (with their juices; fire-roasted adds great flavor)
- 1 can (15 oz) Tomato Sauce (no added sugar)
- 3–4 cups Low-Sodium Chicken or Beef Broth (fat-free)
Seasonings & Herbs
- 1 tsp Dried Oregano
- 1 tsp Dried Basil
- ½ tsp Garlic Powder
- Salt and Freshly Cracked Black Pepper (to taste)
- A pinch of Red Pepper Flakes (optional, for a tiny kick)
- Fresh Parsley (chopped, for garnish)
🍳 Detailed, Step-by-Step Instructions
Step 1: Prep the Canvas
Before turning on the heat, wash all your fresh produce thoroughly. Dice your large onion and chop the red and green bell peppers into uniform, bite-sized squares. Mincing the garlic fresh will give you a much punchier aromatic base than the jarred kind.
Step 2: Brown the Turkey & Sweat the Aromatics
- Heat a large, heavy-bottomed stockpot or Dutch oven over medium-high heat.
- Because we want to keep this recipe at zero points, skip the oil. Instead, add your 1 lb of lean ground turkey directly to the hot dry pot.
- Use a wooden spoon or a meat masher to break the turkey apart into small, fine crumbles as it cooks.
- Toss in your diced large onion and optional celery. The moisture from the onions will naturally help keep the turkey from sticking to the bottom.
- Cook for about 5–7 minutes, stirring frequently, until the turkey is completely browned and no pink remains, and the onions are soft and translucent.
- Add the minced garlic during the last 60 seconds of browning so it becomes fragrant without burning.
Step 3: Layer the Flavors
- Pour in the chopped red and green bell peppers. Stir them into the turkey and onion mixture to let them absorb the residual heat for about 2 minutes.
- Pour in the can of diced tomatoes (including the juice) and the tomato sauce.
- Add the chicken or beef broth. Start with 3 cups; if you prefer a thinner, more liquid soup, add the fourth cup. If you love the thick, chunky, stew-like consistency shown in image.png, stick closer to 3 cups.
- Sprinkle in the dried oregano, dried basil, garlic powder, salt, black pepper, and optional red pepper flakes. Give everything a thorough stir to combine.
Step 4: The Slow Simmer
- Bring the soup up to a rolling boil over high heat.
- Once boiling, turn the heat down to low, cover the pot with a lid, and let it simmer gently for 25 to 30 minutes.
- Why the long simmer? This allows the bell peppers to soften beautifully until they are fork-tender, and gives the lean turkey time to absorb the rich tomato broth, ensuring every spoonful is packed with flavor.
Step 5: Final Adjustments & Serving
- Taste the broth carefully. Adjust the salt and pepper to your preference.
- Ladle the hot soup into deep ceramic mugs or bowls, capturing a generous mix of turkey, colorful peppers, and savory broth—just like the presentation in image.png.
- Garnish with a sprinkle of fresh chopped parsley if desired.
💡 Chef’s Variations & Storage Tips
- The “Rice” Element: Traditional stuffed peppers contain rice. To keep this recipe at zero points, you can stir in 1 to 2 cups of riced cauliflower during the last 10 minutes of simmering. It mimics the texture of white rice perfectly without altering the point count.
- Meal Prep & Freezing: This soup tastes even better the next day as the spices continue to marry. It keeps perfectly in airtight containers in the fridge for up to 4 days, or you can freeze it in portions for up to 3 months. Simply thaw and reheat on the stove!